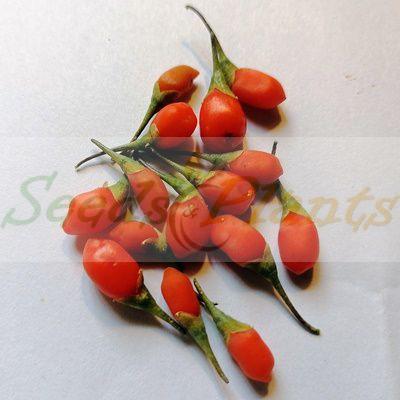
American Elderberry – 5 Seeds
(Sambucus canadensis ‘Aurea’)
R50.00
Common Names: pie elder, golden elder, American elder, elder-blow, sweet elder or just elderberry. It is a beautiful ornamental plant with culinary and medicinal benefits.
Seed Type: Organic – Harvested from our own plants.
Indoor Sowing: Cold Stratification and then transplant once big enough.
Direct Sowing: Autumn.
In stock
🍒 Fruit Quick Facts
Fruit Info
- 🍽️ Culinary Use: Baking, Chutneys, Jams and Jellies, Juices and Syrups, Liqueurs/Wines
- 🥗 Edible Part: Berry
- 😋 Flavor Profile: Tart
Medicinal Info
- 🌿 Medicinal Part: Berry, Flower, Inner Bark, Leaf
- 🍵 Herbal Preparation: Decoction, Infusion / Tea, Ointments/Creams, Poultice, Syrup
- ⚕️ Healing System: American Traditional Medicine, European Traditional Medicine
Growth Traits
- 🌱 Life Cycle: Perennial
- 🌾 Plant Type: Shrub, Tree
- 🔁 Fruiting Needs: Needs Only 1 Plant
- 🪴 Growth Habit: Sprawling, Suckering
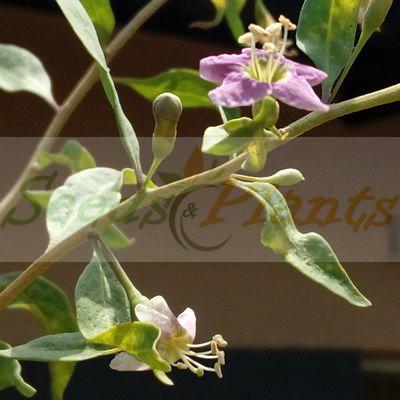
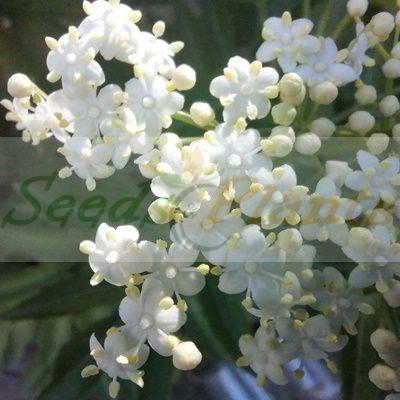
- 🌸 Flower Color: White
- 🌿 Foliage Type: Deciduous
- 📏 Mature Height: 1.8-4.5m
- 🦋 Pollinator Method: Attracts Bees, Attracts Birds, Attracts Butterflies, Attracts Moths, Self-pollinating
Growing Requirements
- 🌞 Sun Exposure: Full Sun, Partial Shade
- 💧 Water Needs: Moderate Water
- ☀️ Growing Conditions: Drought Tolerant, Frost Tolerant
- 🟤 Soil Preference: Calcareous, Clay, Loam, Rich Organic, Sandy, Well-Drained
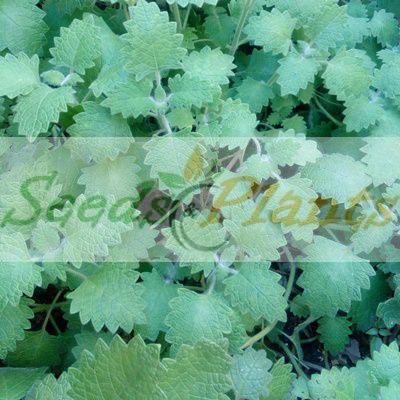
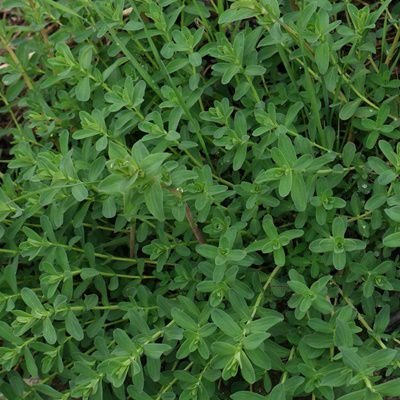
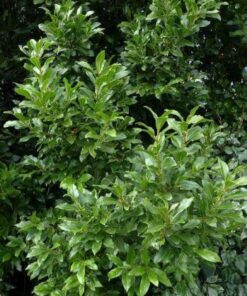
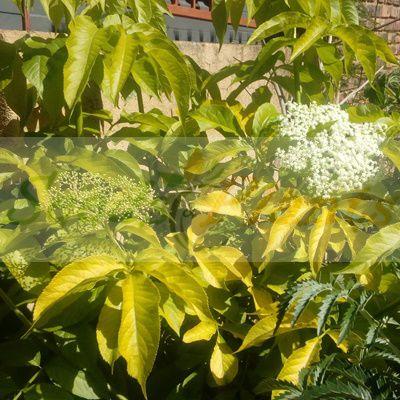
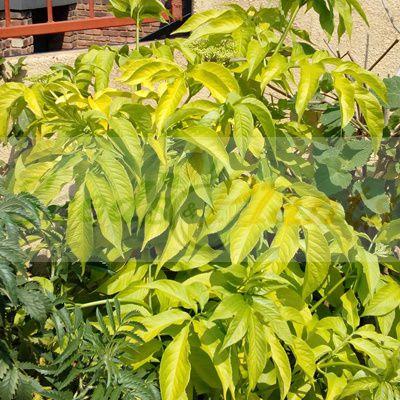
American Elderberry Seeds. The American Elderberry (Sambucus canadensis ‘Aurea’), is a species native to a large area of North America east of the Rocky Mountains, and south through eastern Mexico and Central America to Panama. It can grow in a variety of conditions including both wet and dry soils, primarily in sunny locations.
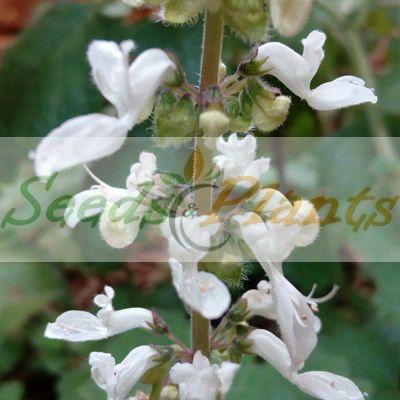
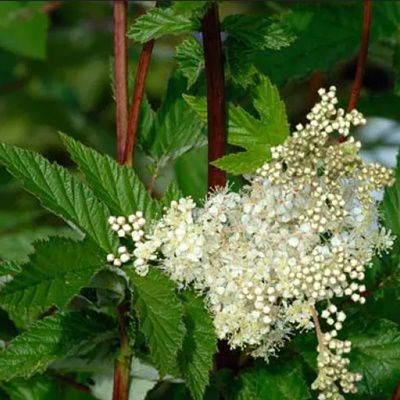
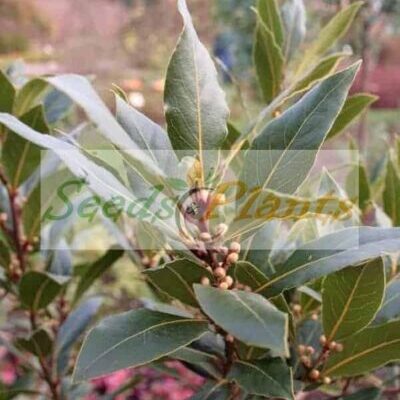
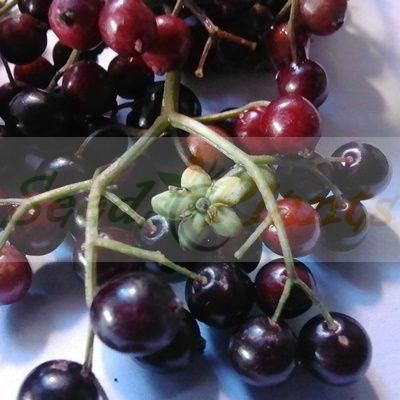
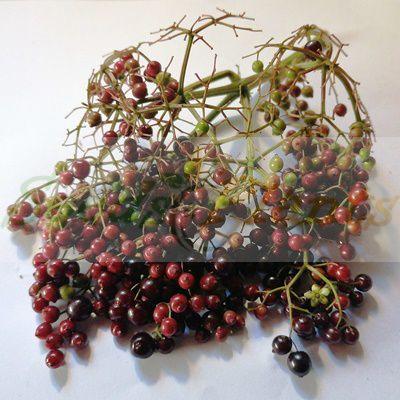
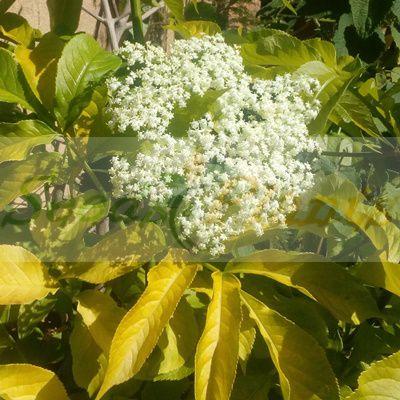
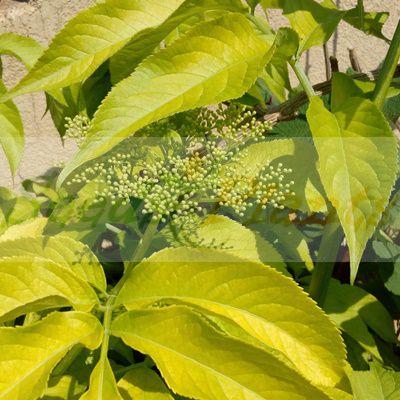
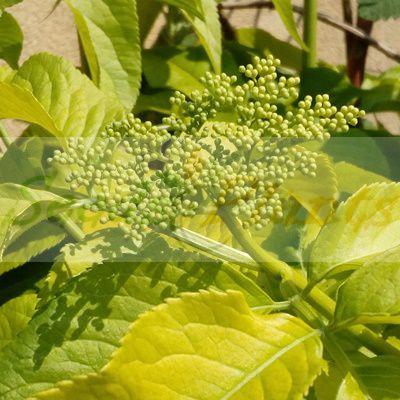
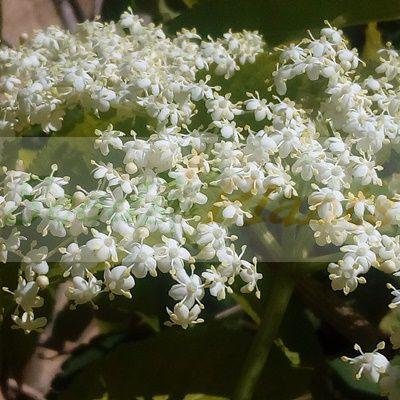
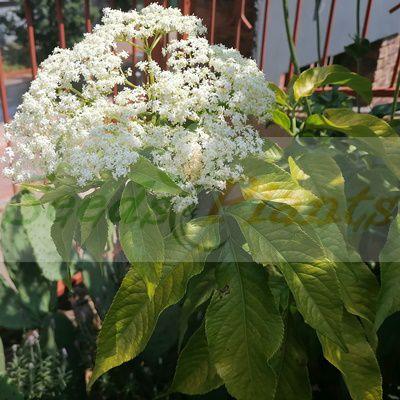
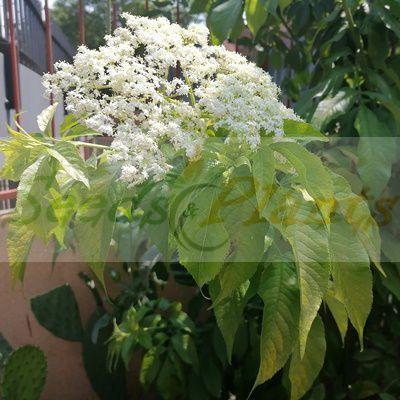
It is also known as golden elder, the pie elder, American elder, elder-blow, sweet elder or just elderberry. When grown in full sun, the leaves of mature plants take on a light green golden color. When grown in shade or partial shade, the leaves tend to be a darker green. Each spring the plant is covered with clusters of tiny white flowers that are followed by purplish-black fruit. The flowers and fruit have applications in alternative medicine, though its sibling (common elderberry, or Sambucus nigra) is the species that is usually used for healing.
American elderberry shrubs are 10 to 15 feet tall and wide, growing into a rounded shape. They’re an excellent addition to a wildlife garden since birds love to eat the fruit. Its flowers will also attract butterflies.
American Elderberry Culinary Uses
- The dark purple berries can be eaten when fully ripe (cook the berries first – do not eat it raw, as it can cause nausea and diarrhea) and is also used to make jam, jelly and chutney.
American Elderberry Medicinal Benefits
- The leaves, flowers, fruits and root extracts are used to treat bronchitis, coughs, upper respiratory infections and fever.
- A study in mice determined that concentrated elderberry juice suppressed influenza virus replication and stimulated immune system response.
- In a review of 4 studies in 180 people, elderberry supplements were found to substantially reduce upper respiratory symptoms caused by viral infections.
Growing American Elderberry
Indoor Sowing: Cold Stratification and then transplant seedlings once big enough.
Direct Sowing: Autumn.
- Elderberry seeds need the coldness of winter, or stratification, before they will germinate.
- For the stratification process, place the seeds in a plastic bag filled with a handful of slightly moistened soil and store it in the refrigerator at a temperature of 1 – 5 degrees Celsius.
- Leave the seeds in the refrigerator for 90 days.
- Fill a seedling tray with potting soil, leaving the top 1 inch of space free of soil. Tamp the soil down slightly and add more if needed to maintain the correct level.
- Fill the tray slowly with water from a watering can. Allow the excess water to drain through the tray’s bottom drainage holes. Add water a second time to ensure that the soil is evenly moist.
- Remove the bag containing the seeds from the refrigerator. Pour the contents out into a bowl. Sift through the media, pulling out the seeds as you find them.
- Sow the seeds in the tray, spacing them 2 inches apart from each other. Sprinkle a 1/4-inch layer of potting soil over the top of the seeds. Mist over the top layer of soil with water from a spray bottle to moisten the additional soil. Place a clear plastic cover over the top of the tray.
- Choose a room with a constant temperature between 22 – 26 degrees Celsius.
- Check the tray every three to four days for signs of moisture loss. Remove the cover, and mist the soil’s surface when the top 1/4 inch begins to dry. Water the soil to keep it moist. Do not allow the soil to become soggy.
- Watch for signs of germination four to six months from the planting date. Remove the cover once the majority of seeds germinate.
- Take the tray and place it in a sunny, warm spot.
- Water the seedlings when the top 1 inch of soil becomes dry.
- Transplant the seedlings into individual 6-inch pots when they reach 3 to 5 inches in height. Fill the pots three-quarters full of potting soil.
- Dig a seedling out of the tray carefully with a trowel. Place the seedling in the center of a pot, spreading its roots outward. Add soil to the pot, tamping it down slightly around the roots. Do not overfill the pot or plant the seedling deeper than it was previously growing.
- Fill the pot one to two times with water to moisten the soil completely.
- Place the pot in a 21 to 23 degree Celsius room with partial sunlight.
- Acclimate the seedlings to full sun for two weeks before transplanting them outdoors into containers or into the garden.
- Plant them at least 10 feet apart in a sunny bed with mildly acidic, well-drained soil.
Disclaimer
Medicinal Information:
All medicinal information on this website is for educational and informational purposes only and may not be construed as medical advice. The information is not intended to replace medical advice or treatment offered by healthcare professionals.
Seeds, Plants, Plant Cuttings, Geophytes and Dried Herbs:
In some countries and provinces, certain plants are deemed as invasive and are not allowed to be planted at all, whilst some plants are allowed to be grown only in certain areas or provinces. The onus is on you as the buyer to familiarize yourself with the regulations pertaining to your location, before purchasing any of our seeds, plants, plant cuttings, geophytes or dried herbs. We will not be held liable, should you purchase any seeds, plants, plant cuttings, geophytes or dried herbs. from us which are prohibited in your country or province.
Related products